


New article
Recently updated
Submitting a complaint

Who is this article for?
Users looking to submit a complaint.
No special access or permissions are required.
The system allows you to directly enter complaints and inquiries through a dedicated submission panel.
This article explains how to submit complaints manually and sync information across system.
1. Submitting a complaint
When you select Submit Inquiry from the left-hand menu bar, the inquiry submission panel displays with three main areas:
- Left column containing the inquiry entry fields.
- Centre column showing the inquiry details form.
- Right panel displaying a list of most frequent contacts around a local map.
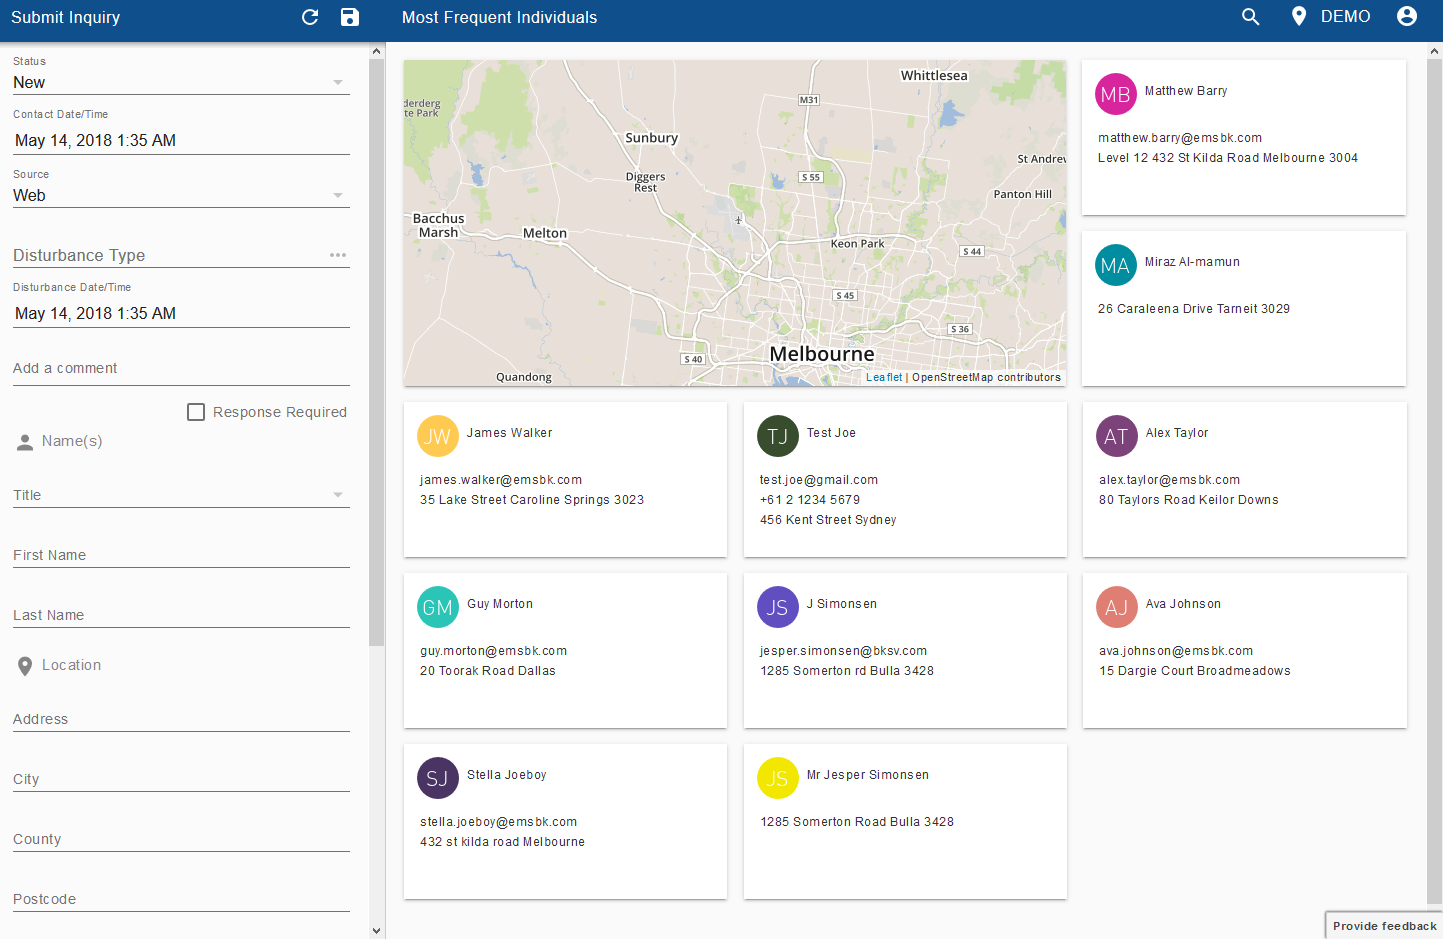
To submit a complaint:
- Set the Status (defaults to New).
- Confirm the Contact Date/Time (defaults to current date and time, but can be altered).
- Select the Source from the dropdown.
- Choose one or more Disturbance Type.
- Select the Activity Type from the checklist (what the person was doing at the time).
- Enter the Disturbance Date/Time if the caller provides it (particularly important for specific operations that caused a disturbance).
- Check Response Required if further actions are needed or the contact has requested a callback.
- Enter the details of the complaint in the Comments free text area.
- Enter the person's Title, First Name, and Last Name if provided.
- Enter as much Location information as possible (typically the contact's residence, including elevation if available).
- Add one or more Contact details and select a star to mark the preferred contact method if multiple options are provided.
Note
As you enter name details, the known contacts panel changes from showing most frequent contacts to a filtered list of potential matches. Use the toolbar icon to switch between modes.
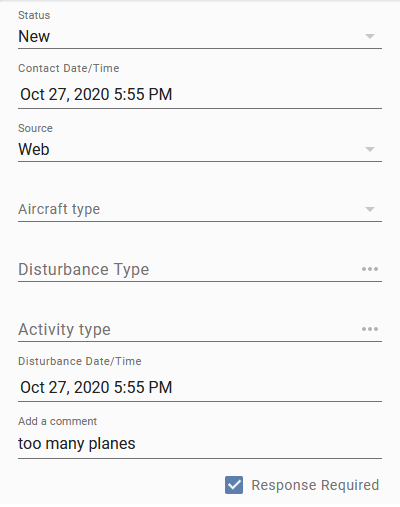
- Click Save.
Tip
Click on any contact in the right panel to autofill parts of the form and save time.
2. Using submission controls
You have access to other submission controls you can use as needed:
- Reset the Form - Clears and resets the form without retaining any information.
- Contacts Toggle - Switches between potential match display and most frequent display.
- Save - Opens a sub-menu where you can save the inquiry or select Save and Duplicate.
- Save and Duplicate - Useful for entering multiple complaints from the same contact.

Note
Saving the inquiry is the first step in the inquiry lifecycle. You can then proceed to enter consecutive inquiries or move to an investigation or response process.
3. Syncing senders
Ideagen Viewpoint continues to aggregate and retain information about senders, so that every time the person makes another submission via various means, the original sender record can continue to be updated.
For example, the sender may submit an email complaint with only partial information. The next time, the sender may prefer to use an online complaints form with some more compulsory fields. Ideagen Viewpoint can identify matches and update the sender record details accordingly.
The updated sender details are sent to the Ideagen ANOMS database, and the sender's personal details are also updated to retain parity between the two databases.